For the Cheesecake:
250g (9 oz) cream cheese, softened
1/4 cup (60g) unsalted butter
1/3 cup (80ml) milk
1/2 cup (100g) granulated sugar
4 large eggs, separated
1/2 teaspoon vanilla extract
1/3 cup (45g) cake flour
2 tablespoons cornstarch
1/4 teaspoon salt
1/2 teaspoon cream of tartar (optional, helps stabilize egg whites)
Powdered sugar (for dusting, optional)
For the Water Bath
Ingredients
Preheat your oven to 320°F (160°C). Grease and line the bottom of a round 8-inch (20 cm) cake pan with parchment paper.
Prepare a large baking dish or tray that can hold the cake pan and will serve as the water bath.
Step 2: Make the Cream Cheese Mixture
In a small saucepan over low heat, melt the butter and milk together. Stir constantly until the butter is fully melted and the mixture is smooth. Remove from the heat and let it cool slightly.
Gradually add the melted butter and milk mixture to the cream cheese, stirring continuously until well combined and silky. Then mix in the vanilla extract and egg yolks one at a time, beating well after each addition.
In a separate bowl, beat the softened cream cheese until smooth and lump-free.
Step 3: Combine the Dry Ingredients
In a medium bowl, sift together the cake flour, cornstarch, and salt.
Gradually add the dry ingredients to the cream cheese mixture, stirring gently until combined. Be careful not to overmix to keep the batter light.
Step 4: Beat the Egg Whites
In a separate, clean bowl, whisk the egg whites until they become frothy.
Add the cream of tartar (if using) and continue whisking until soft peaks form.
Gradually add the granulated sugar while continuing to beat the egg whites until they form stiff, glossy peaks.
Step 5: Fold in the Egg Whites
Gently fold the beaten egg whites into the cream cheese mixture in three additions. Use a spatula to fold carefully so as not to deflate the batter. The goal is to keep the batter airy and light.
Step 6: Steam-Bake the Cheesecake
Pour the cheesecake batter into the prepared cake pan and smooth the top.
Place the cake pan into the larger baking dish or tray. Pour hot water into the larger dish to create a water bath, about 1 inch deep.
Carefully transfer the whole setup to the oven and bake at 320°F (160°C) for 50-60 minutes, or until the top of the cheesecake is golden brown and a toothpick inserted in the center comes out clean.
Step 7: Cool the Cheesecake
Turn off the oven and leave the cheesecake in the oven with the door slightly ajar for about 15 minutes. This helps to prevent it from collapsing too quickly.
Remove the cheesecake from the oven and the water bath. Let it cool completely in the pan.
Once cooled, carefully remove the cheesecake from the pan and peel off the parchment paper.
Step 8: Serve
For an extra elegant touch, dust the top of the cheesecake with powdered sugar before serving.
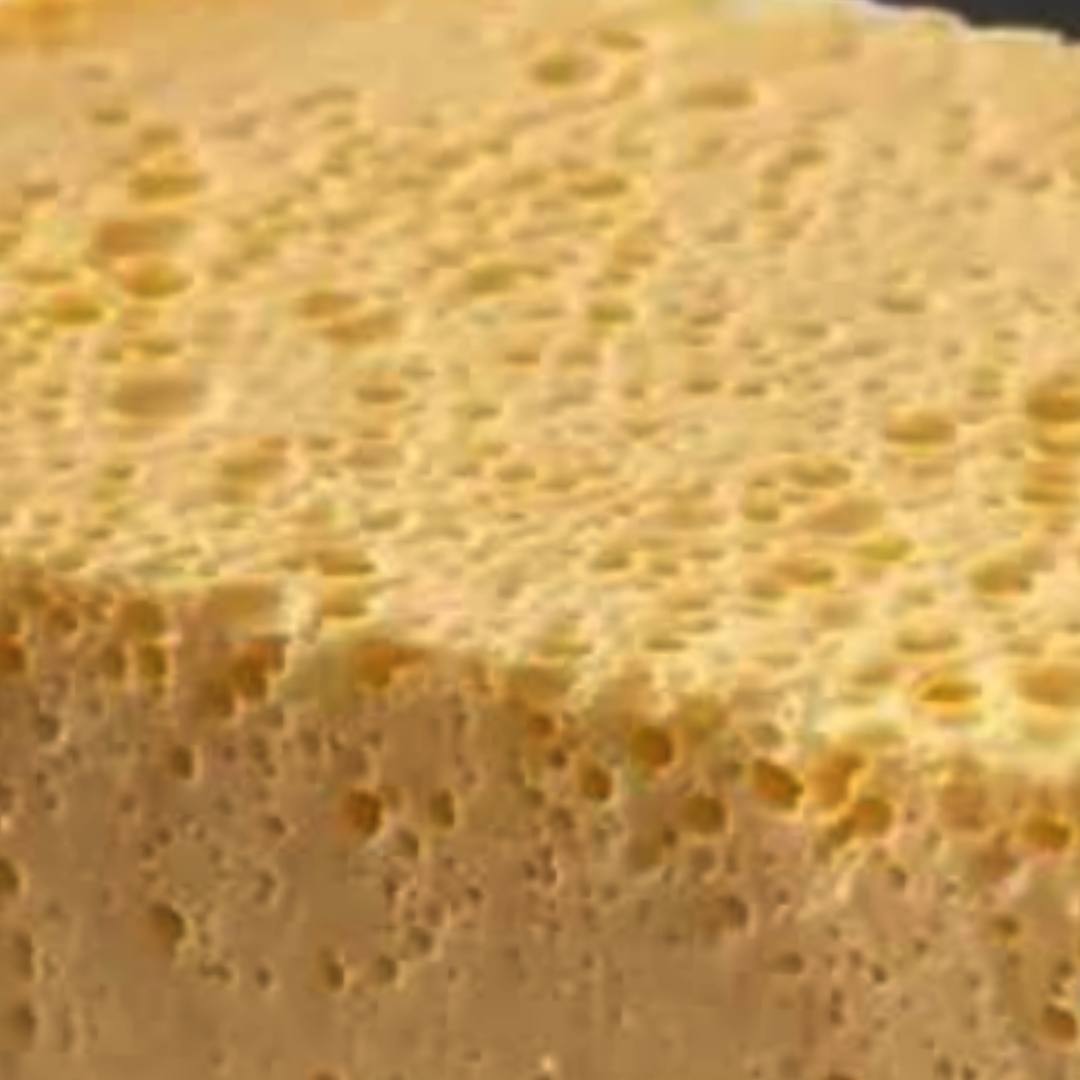
Slice and enjoy the delicate, fluffy layers of your Japanese Steamed Cheesecake!
Tips for the Perfect Cotton Cheesecake
Room Temperature Ingredients: Make sure your cream cheese, butter, and eggs are at room temperature to ensure a smooth batter.
Beating the Egg Whites: It’s crucial to beat the egg whites to stiff peaks but not too stiff. They should hold their shape but still be glossy, not dry.
Steaming for Texture: The water bath ensures that the cheesecake bakes gently, giving it its fluffy, soft texture. Be sure the water is hot enough to create steam but not boiling.
Variations
Lemon Cheesecake: Add the zest of one lemon and a teaspoon of lemon juice for a refreshing twist.
Matcha Cheesecake: Incorporate 1-2 teaspoons of matcha powder into the dry ingredients for a Japanese green tea flavor.
Conclusion
This Japanese Steamed Cheesecake or Cotton Cheesecake is a light, airy, and delightful dessert that’s perfect for any occasion. With its silky texture and delicate sweetness, this cheesecake is a unique treat that will leave everyone wanting more. Enjoy the soft, cloud-like layers that melt in your mouth with every bite!
Enjoy!